
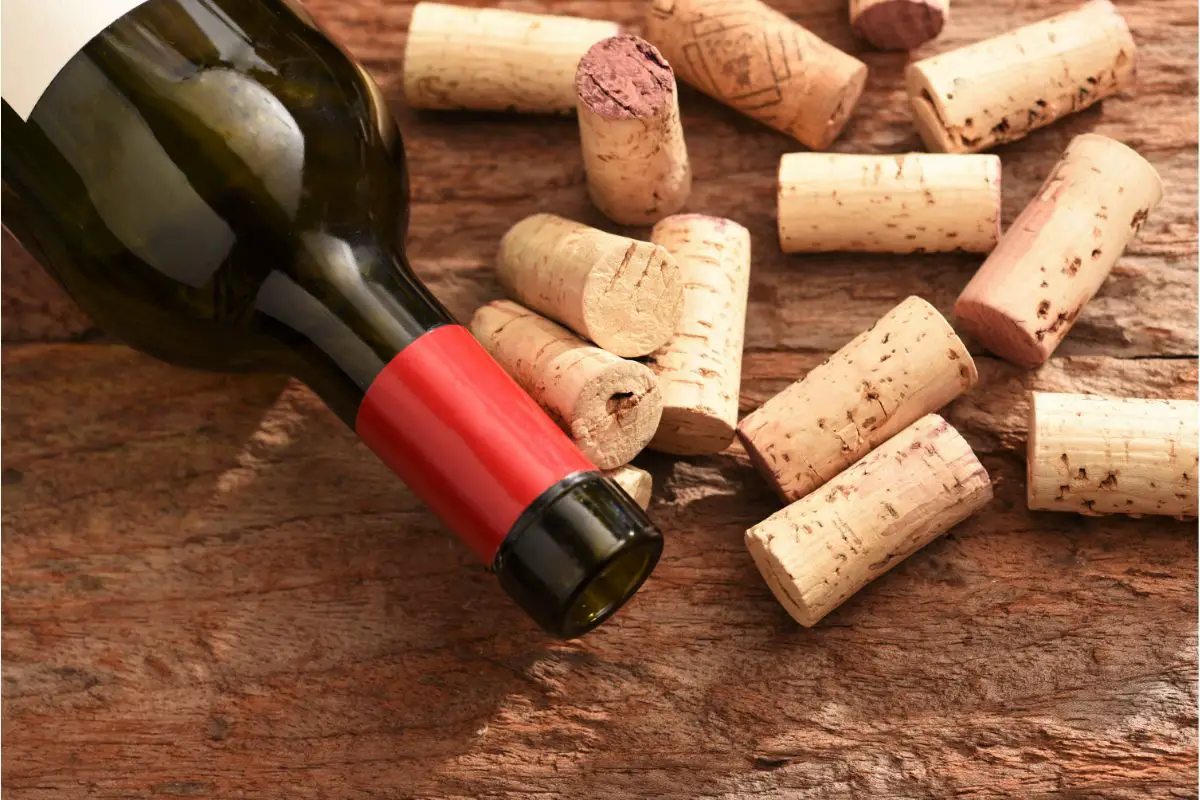
Many of us enjoy a glass or two of wine but we probably just throw the wine corks in the trash. After all, what use are they?
Well, we’re here to tell you that you can use them in all sorts of DIY projects so keep them and make some interesting items either for yourself or as gifts for friends.
Most people enjoy receiving homemade gifts because a lot of effort and care has gone into making them. In this article, we are going to give you 17 projects that you can take on. None are particularly difficult and don’t even take that much time.
1 – Wine Cork Drink Coaster
Coasters are very useful as they protect your table from glass and mug rings so why not make some out of wine corks? They are sure to spark conversation at a party.
You need six corks for each coaster as well as a sharp box cutter, sandpaper, and a hot glue gun. First, measure each wine cork and cut it into thirds. You need the pieces to be the same height so that the glass balances on the coaster.
Use the box cutter to cut the corks or alternatively, a very sharp knife. Take your time as accuracy is important.
Once you have cut the corks, use the sandpaper to sand the rough edges. Then you are ready to glue the corks together. You will probably want a round shape but it’s totally up to you.
Use a hot glue gun and leave the coasters to cool completely before using. If you want, you can spray paint the corks before gluing them. You might want them to be colorful or you might want a rustic look.
2 – Wine Cork Jewelry Organizer
A wine cork jewelry organizer is a lovely way to display your jewelry. What you need to create a jewelry organizer are lots of corks, a picture frame, a piece of cardboard cut to fit the frame, mug hooks, and a hot glue gun.
First, lay out the corks in the pattern you want, and then use the glue gun to glue them to the cardboard. You may have to trim some of them to fit the frame. The best thing to use to do this is a bread knife.
The next step is to twist some mug hooks into the corks. On these, you can hang earrings without posts, necklaces, and bracelets. Earrings with posts can just be stuck into the corks.
When you have done this, glue the cardboard with the corks into the frame and hang it on your wall. You can glue a couple of champagne corks to the bottom of the frame, Because of their unique shape, you can hang necklaces from them.
3 – Wine Cork Tray
For this, you need a wooden tray, corks, and a glue gun. Ensure that the tray is deep enough for both the corks and space to put items in. It is up to you whether you keep the corks whole or cut them in half.
The first thing to do is to paint the tray in the color you prefer. You can also paint the corks if you wish but you may want to leave them as they are for a more rustic look. Then, simply, but carefully, glue the corks into the tray.
That’s all there is to it. Now you will be able to serve your guests drinks on an attractive homemade tray.
4 – Wine Cork Bath Mat
This is another lovely idea. Your friends won’t believe that you have made it yourself. All you need are lots of corks, cardboard, a rug pad, and a hot glue gun.
First, cut the corks in half lengthwise. Then place a piece of scrap paper under the rug pad for protection. Start gluing the wine corks to the rug pad and when you have done this, trim the excess rug pad so that it looks smart.
Place a heavy board on top of the mat and leave until the corks are stuck to the pad. It will take around 24 hours. After this time, check that the corks are secure and peel off the scrap paper. You are then able to use your unusual and innovative bath mat.
5 – Wine Cork Vase
It is lovely to have fresh flowers in the house and what is better than having a pretty vase to display them in? Why not decorate a vase with wine corks for a different and exciting look?
To do this, you will need lots of corks and heavy-duty craft glue. The best type of vase to use is one that is cube-shaped.
Slice your corks in half evenly and then glue them in rows on one side of the vase. Once the first side is dry, move onto the next side and repeat until all of the sides are covered.
Finally, glue more corks in the spaces between the sides. Leave to dry and you’re then ready to put in your favorite flowers. You can paint the corks to make the vase even more attractive.
6 – Wine Cork Trivet
When you have a hot pan or serving dish, you will want to protect your table from the heat. A trivet will do the job and yes, you can buy them from the store, usually made from wood or metal.
However, why not save a bit of money and make one or two out of leftover wine corks?
To make a wine cork trivet, you need lots of corks and a large single piece of cork. You can get cork pieces from hardware and craft shops. It is best to get a piece bigger than you want the trivet to be so that you can trim it down if it’s too big.
The one thing you can’t do is make it bigger if it’s too small.
The first thing to do is to lay the piece of cork on a flat surface and then arrange the corks in whatever patterns you want. You could make shapes, diagonals, or turn the corks in different directions.
Then outline the corks on the corkboard. Once you have done this, remove the corks and cut the outline in the corkboard. Finally, glue the corks back on and then leave to dry.
7 – Wine Cork Bulletin Board
To make a wine cork bulletin board, you need lots and lots of wine corks, a frame or large paper mâché box, a glue gun, a Manila rope for the handle, and a hook for hanging.
It is a good idea to paint the inside of the frame or box so that you can’t see any gaps between the corks. Black craft paint is a good choice. Once the inside is dry, paint the outside.
Then all you have to do is glue the corks to the frame or box with a hot glue gun. Start from the outside and work your way in. Alternatively, you might want to create circles. Be as artistic as you want.
Make a handle from Manila rope, gluing it to the outside of the board. Then mount a hook into the wall and hang your wine corkboard. You can then put on notes with drawing pins or maybe some of your favorite photos.
8 – Wine Cork Keychains
Wine cork keychains make a great gift, or you might want to make one or two for yourself to remember the delicious bottles of wine that you have had. To make these, you need wine corks, split rings, screw eyes, eye pins, charms, and beads.
Most craft shops will sell all you need to make keyrings.
To make them, twist a screw eye into one end of the cork and then attach a split ring to the loop of the screw. This creates the keychain and it’s ready to go.
However, you will probably want to make them look attractive so cut an eye pin in half using wire cutters and, using the side that still contains a loop, slide on a bead or two and put it into the other end of the cork.
9 – Wine Cork Kitchen Utensil Holder
An attractive addition to your kitchen would be a kitchen utensil holder made with wine corks. What you need is a large tin can. We’re sure that you sometimes have tinned vegetables, beans, or soups so save one or two for cork projects.
Apart from the corks, you will also need wax paper and a hot glue gun.
Cover a flat surface with the wax paper for protection and then place the tin can on it. Then, place your corks around the tin can to make the first row. When you are happy with this, glue the corks to the can.
When the glue has set, you can glue the next row to the corks and continue doing this until the can is covered. In between each row, you will need to add some glue and it is best to turn the can over to do this.
This is all there is to it so you can now put your cooking utensils in your new holder.
10 – Wine Cork Wreath
When Christmas approaches, many of us put wreaths on our front doors. Sometimes you buy them and other times, you make them. If you decide to make your own, why not do something different and make a wreath out of wine corks?
This is something that needs to be planned in advance because you need between 200 and 250 corks. You will need to save them up, ask your local bar for their corks, or you can buy them online.
Champagne or sparkling wine corks aren’t suitable because they are a different shape. You also need an 18-inch straw wreath base, a glue gun, and burlap ribbon.
The first thing to do is to secure your ribbon around the wreath. When this has dried, glue corks along the base one at a time. Then glue the corks end to end diagonally and repeat with the next line. After a few lines, you may want to correct the angle with a diagonal cork.
If there are any gaps, fill them in with diagonally sliced corks. Carry on until the wreath is filled with corks. You may want to secure decorations into the corks such as mistletoe which you can do with a drawing pin.
11 – Wine Cork Wall Hooks
Perhaps you need some wall hooks to hang up your coats. Why not use leftover corks to make some? They will be different, and you may even be complimented for your efforts.
To make the wall hooks, you need a strip of wood about 1 – 2 inches wide and half an inch thick. Measure six spots for the hooks to be with equal space in between them.
About 4 inches is the ideal space between each hook, Into the back of the wood, insert screws into each of the six marks you made. Screw them all the way in until the screw is poking out the other side.
Then twist the corks into each of the screws and that’s it apart from mounting the wood on the wall. To make sure it is secure on the wall, screw between the first and second hooks and between the fifth and sixth hooks.
12 – Wine Cork Cell Phone Holder
Wouldn’t it be nice to place your cell phone in an attractive holder rather than leave it just sitting on the table? What is even better, paint the corks so that the holder stands out. Perhaps you could start the project by making diagonal lines across each cork.
Then you can spray paint the different sections to make the holder look more attractive. Choose whichever colors you like. Smoky gray and pink are a nice combination as are red and green for a more powerful look.
The next step is to make the base. Make sure that the paint is dry and then glue together two rows of four corks to make the base of the holder. The corks need to be glued horizontally.
When you have done this, make the walls. Now you have to glue the corks vertically. Make two rows for the back of the holder and one for the front and then glue them to the base. You are now all set to put your phone in the holder.
13 – Wine Cork Stamps
What’s nicer than putting a personal touch to a letter? If you are keen to do this, make some wine cork stamps. They’re easy to do so why not try it?
The first thing to do is to trace the bottoms of your wine corks onto a piece of paper and then draw the images you want into the circles. Perhaps you want hearts or a star or anything else.
Then cut out the shapes and trace them onto a piece of craft foam. Use a glue gun to put these shapes onto the wine corks. That’s it. All you now need is an ink pad and you can use your stamps.
14 – Wine Cork Candle Holder
Why not elaborate a simple candle holder with wine corks? It is bound to be a conversation topic when you have guests.
To do this, you need a candle holder and quite a few corks. Curt the corks lengthwise in half. Then paint them in any colors that you wish. You can draw lines on the corks and then paint different colors.
When you have painted the corks, glue the cork pieces to the candle holder. If the holder is made from glass, you will need craft glue. Make alternating rows of different colors and then glue some ribbon around the corks.
You can even add other decorations such as beads and charms.
15 – Wine Cork Garden Markers
Perhaps you love gardening but sometimes forget what you have planted where. If so, why don’t you make some garden markers out of cork? It is so simple to do that you will wonder why you hadn’t done it before.
Using a cordless drill and a small-diameter drill bit, drill a small hole in the bottom of each wine cork. Ensure that the diameter of the hole is smaller than the wooden skewer you will put into it so that it will stick to the ground.
Insert the wooden skewers into each cork and, using a permanent marker, write the name of the fruit or vegetable onto the cork. It is a good idea to spray the corks with a clear matte protectant because the writing may fade in time.
16 – Wine Cork Christmas Tree
These little Christmas trees are a lovely homemade decoration which are bound to be a hit with guests. They’re a great thing to make with your kids as well.
Get 13 corks and dab one end of each with mod podge. Then sprinkle the ends with glitter. It’s nice to have different colors of glitter such as green and red. Leave these to dry and then stack them to make the tree.
Use 3 corks for the bottom, then 4 corks for the second row, then 3 corks for the third row, 2 for the fourth, and finally 1 for the top. Hot glue these together.
The next step is to cut a piece of toilet roll, about 2 inches high. Hot glue twine around it and then glue the roll to the bottom of the corks to form the base. You can make lots of these to get your home into the festive spirit.
17 – Wine Cork Tile Placemat
You will need 50 corks to make the placemat. It’s a good idea to get as many red wine corks as possible as they will be lovely shades of red. Then cut the corks horizontally into small pieces, about 5 pieces from each cork.
They should be the same size so that the placement is level. Then place the corks into the shape you want and glue them together with a hot glue gun.
Final Thoughts
We hope that we have inspired you to make some beautiful things out of your leftover corks. Perhaps you hadn’t realized that you could do all these things and would normally have thrown your corks away.
However, now you can be both creative and save money in the long run.